|
 |
|
|
The EduCraft Diversions
Apollo Launch Umbilical Tower (LUT)
and Mobile Launcher (ML) in 1/96 scale
|
Manufacturer:
|
Edu-Craft Diversions (David Maier) Burbank, CA
|
|
Cost:
|
$70 (1/96 scale) Prices for other scales are proportional.
|
|
Scale:
|
1/96 - Other scales are available.
|
|
Media:
|
60-pound stock paper, with all details printed on.
|
|
Instructions:
|
Provided on CD-ROM in PDF format. Includes reference
photos of original Apollo LUTs.
|
|
Decals:
|
Not included or required.
|
|
Paints/Supplies:
|
White glue, carpenter’s glue, paints & colored pens to touch up fold
lines.
|
|
References:
|
Numerous NASA and private sector collections of Apollo
photographs.
|
|
|
Molding/Casting Quality:
|
The printed parts are “art-like.” They quality of the
build is totally up to the builder.
|
|
Detail:
|
The detail level for a “paper model” is incredible.
|
|
Accuracy:
|
Way-too accurate for a paper model…
|
|
Fit:
|
The quality of fitment is totally up to the builder.
|
|
Ease:
|
While not “brain-surgury,” it is not a model for the
impatient, or the novice. If you have any experience with small part detail
work, the model is completely do-able.
|
|
Instructions:
|
The instructions are your friend. Trust them. Only in
specific areas did I vary from them, as explained in the article.
|
|
Decals:
|
N/A
|
|
Overall:
|
Without question, one of the most rewarding models I have
ever built.
|
|
I was a “Child of Apollo.” I followed the program from the first grade in (1961). I watched every flight with religious consistency. I finally got a chance to go to the Kennedy Space Center in the summer of 1970. My father died the same week Apollo 13 happened in April. So when my sister and her family took me to KSC in June, everything was “on hold,” waiting to find out why Apollo 13 went wrong and to make sure it did not happen to 14. The pad was empty, except for the parked Mobile Service Structure, which was the “other half” of the on-pad access structure for the Saturn V.
By the time I got back to KSC in 1977, Apollo was long over and the preparations for the Shuttle were underway. The only LUT I got to see was LUT Number 1, sitting on Pad 39B, with the “milk stool” still on it, used to bring the Saturn 1Bs of Skylab and Apollo-Soyuz up to the proper level for support of the S-IV-B and the spacecraft. On her southern edge was a sign listing all of the Saturn launches supported by that LUT.
Time and tide wait for no man, and the movement of “progress” prevented a public effort to save LUT 1 from demolition from succeeding. Now, there are no LUTs, except the section near the “top end” of the Saturn V, inside the Apollo-Saturn V Center at KSC. Sections of the other LUTs became the Fixed Service Structures of the Shuttle Program pad systems.

|
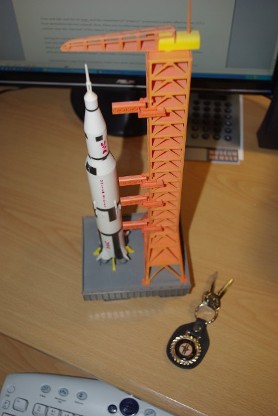
During the trip to Florida in 1970, I bought a small desk model of the Saturn V, the LUT and the Crawler, purchased from the Gift Shop at KSC. It was made by a company called Cassulette Engineering, and was very simply in detail and about 1/300 scale to make it easy to display. Over the years, it had gone through a number of moves and was looking a bit worn. Maybe, just maybe, I could find one on eBay.
I did not find a copy of the Cassulette model, but what I did find changed everything. Here was a posting by someone going by "d-condave” who was peddling a 1/144 scale paper model of the LUT/ML system, intended for use with the Monogram or Airfix 1/144 scale Saturn V’s. Looked interesting, but I did not own a 1/144 Saturn. Then, while reading the description, it said that he could do “other scales,” such as 1/96 for the Revell Saturn (!!) or others.
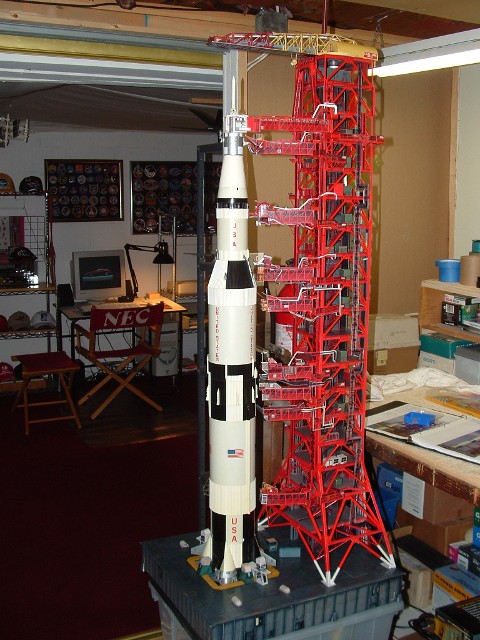
I have had a 1/96 scale Revell Apollo-Saturn V model sitting on its little gray display stand since the 1980's waiting for this occasion. After some e-mail confirmations with David Maier, I ordered the kit. It came rolled-up in a USPS mailer tube, like a set of small posters but on much heavier paper. All of the surface details of the ML, and the LUT pieces were already printed onto the card-stock. This first look was enough to know it was not going to be “your basic model.” While I had built paper architectural models of buildings before, this thing was going to another level altogether.
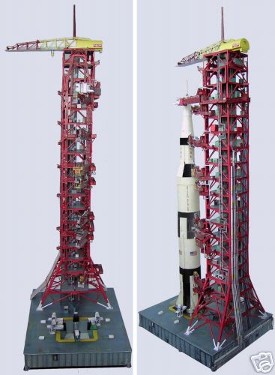
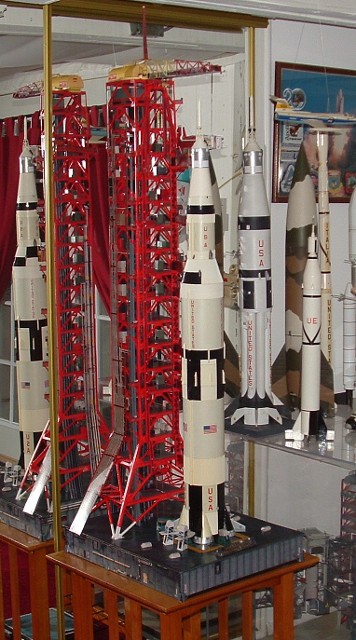
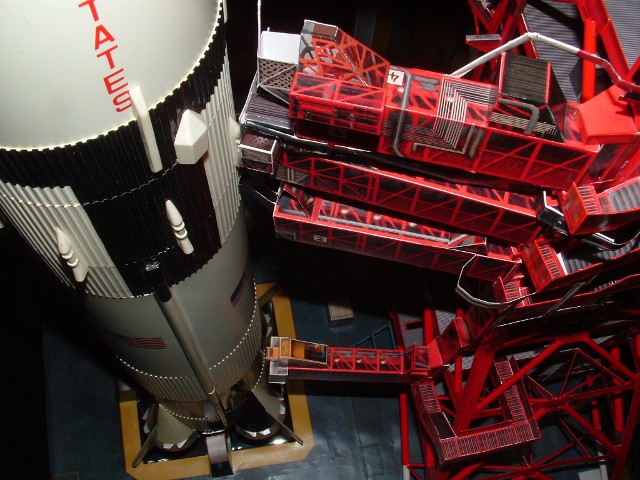
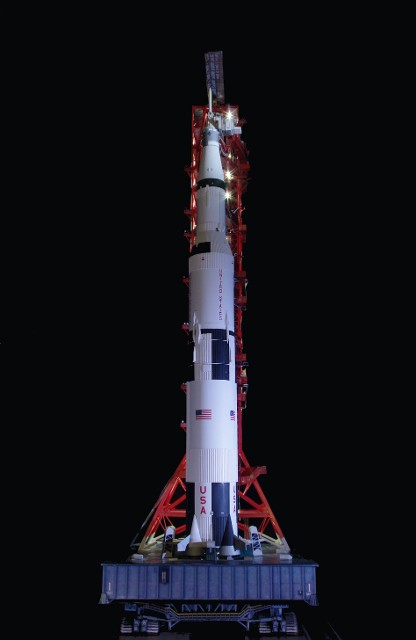
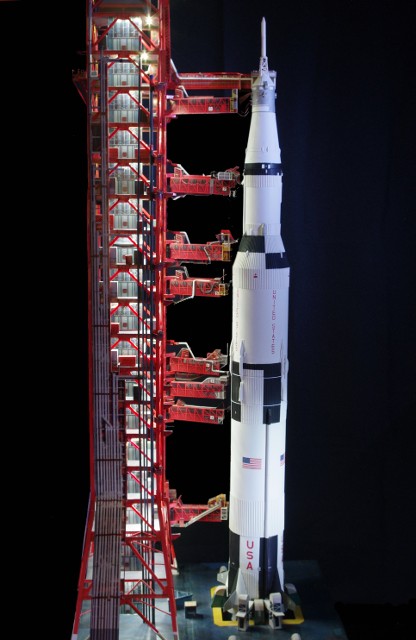
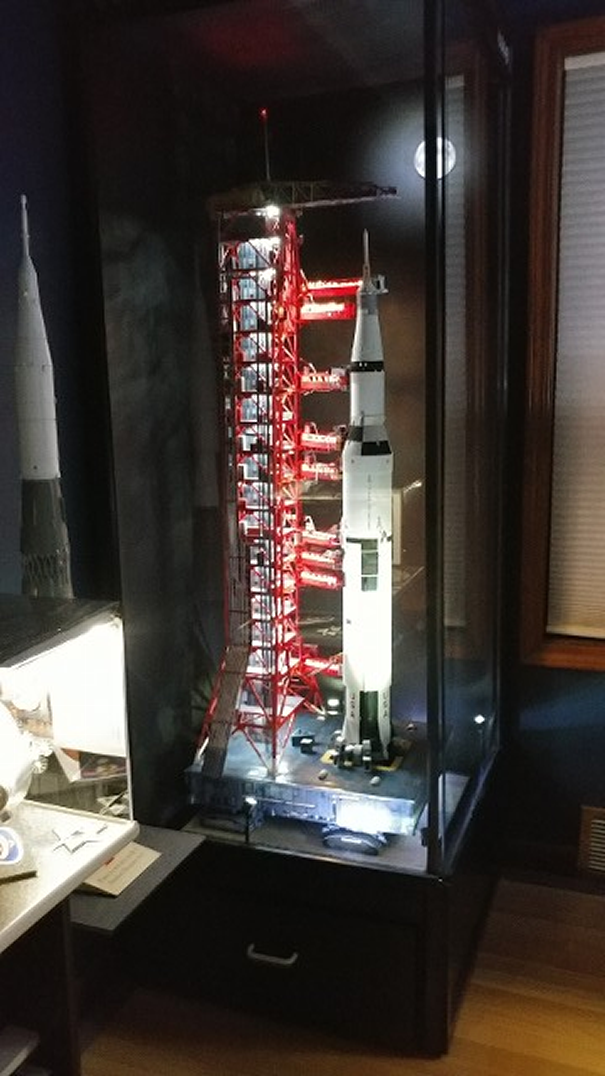
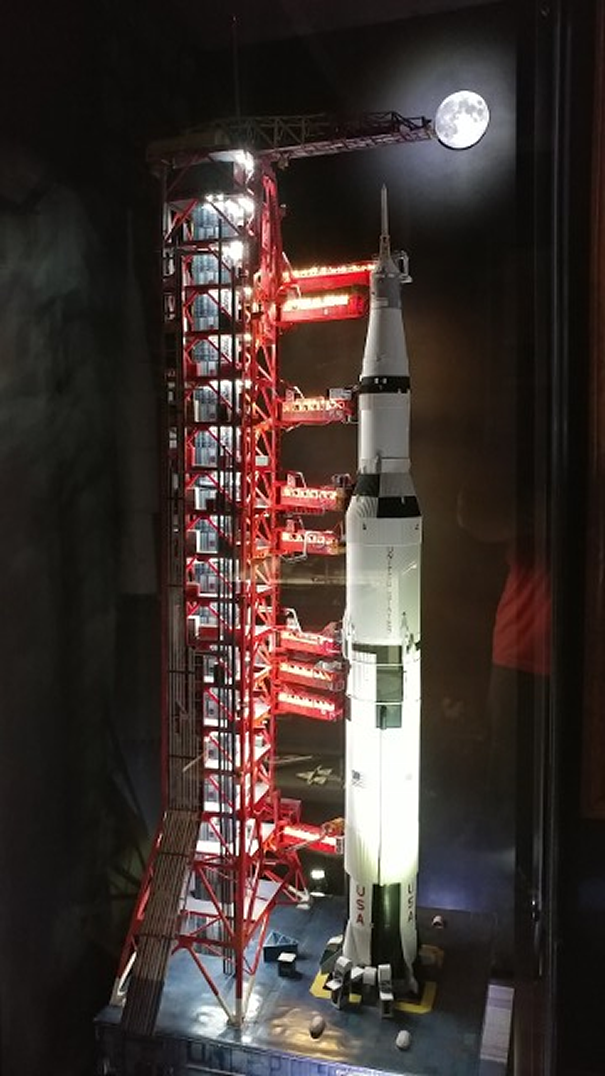
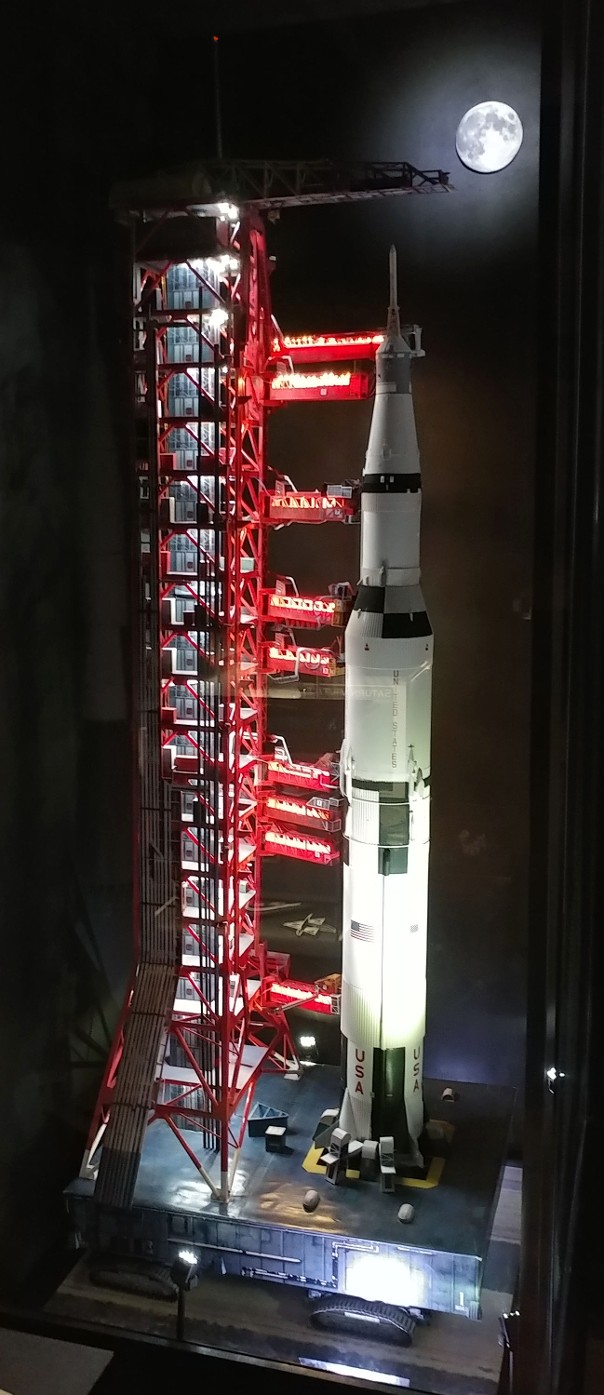
The photos below are of the completed LUT with the Revell Saturn V aboard.
|
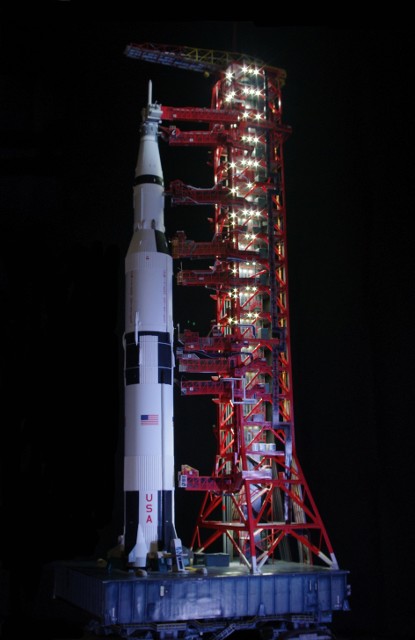
To see pictures of the LUT Lighting Project, use the link below to go to the Shutterfly Album Site.
https://link.shutterfly.com/czaMA5QLvyb
LUT Update...
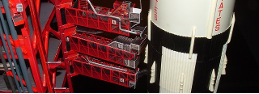
We recently decided to try adding LED lighting to the nine Swing Arms that connect the LUT to the Saturn V, providing all of the consumables - fuel, oxidizer, pressurization, electrical power and communications to the vehicle before launch.
The replacement swing arm sheets was pre-painted red on the interior side in order to match the exterior color as close as possible. Then, each arm was scored for folding and each "open area" above the side railing line and between the upright and diagonal girders was cut-out with a sharp #11 X-Acto knife, to open up the areas of the swing arm access walkways.
As we used more recently available LED strips, we got more LEDs per inch, as the overhead lamps would be closer together on the swing arms, but we still had to work with the "groups of three" established as strips were designed. The swing arm strips are also a warmer white than the LUT illumination, but the difference is not objectionable. The real challenge was running the thin lead wires from each arm back into the LUT and connecting them onto the existing power buss wires for each LUT floor. It was pretty tight quarters working in there.
We also added a "blinking" red LED to the top of the lightning mast of the hammerhead crane, atop the LUT, as the actual aircraft warning beacon would have been.
Thanks, again to David R. Maier of Edu-Craft Diversions for making the additional swing arm sheets from the LUT model available to me to do this revision.
|
|
|
|
|