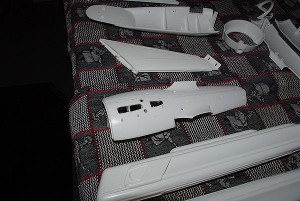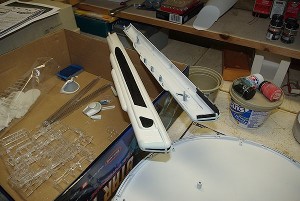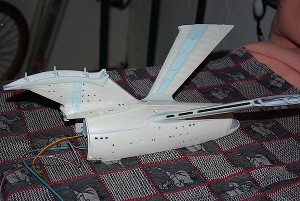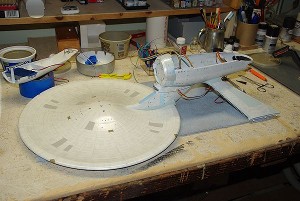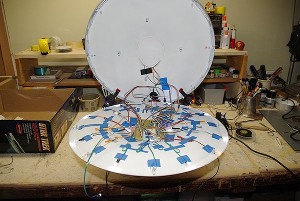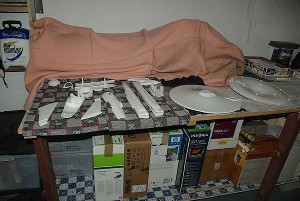
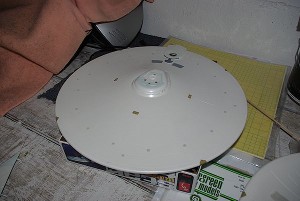
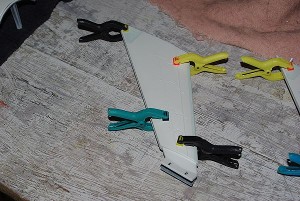
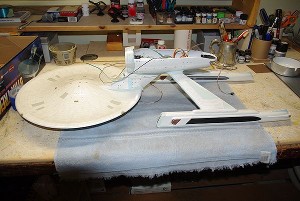
This thing is "big." Here's all of the main hull sections laid out for inspection and trial fitting.
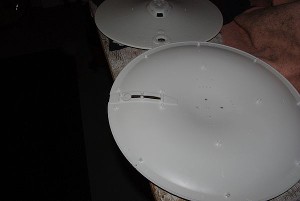
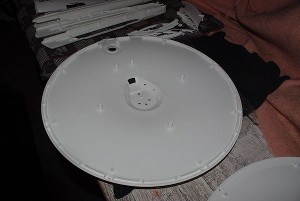
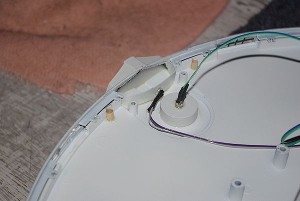
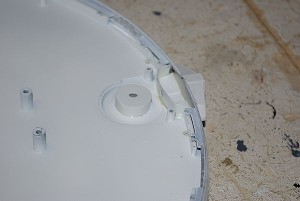
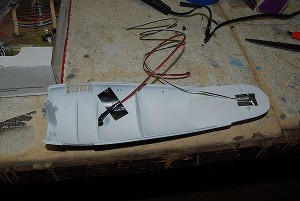
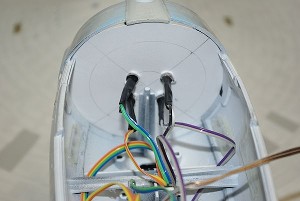
Lower half of the Primary. The opening was made above the Dorsal Neck fitting to allow passage of wiring for the LED system.
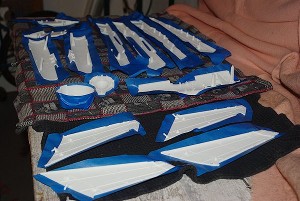
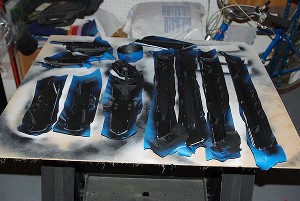
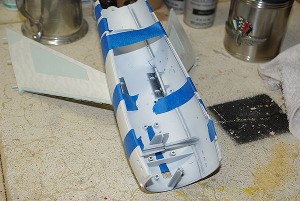
All exterior surfaces were masked to prevent flat-black paint from getting to them. The exterior will eventually be Pactra Pearl White.

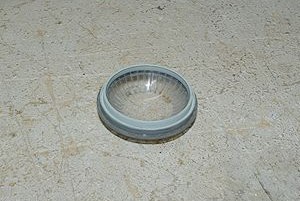
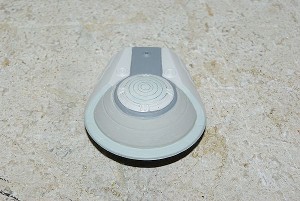
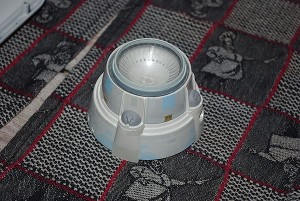
Some smaller pieces needed to be hand-painted for light blocking, especially the Deflector Dome, as the white plastic will diffuse the blue interior light.
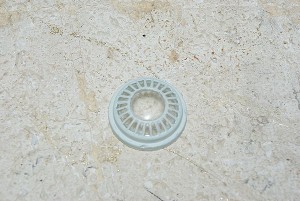
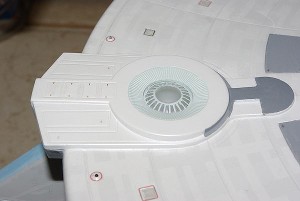
Likewise, the Impulse Engine Reactor Dome detail was also done in Duck Egg Blue.

Hand painted detail of the Officer's Lounge

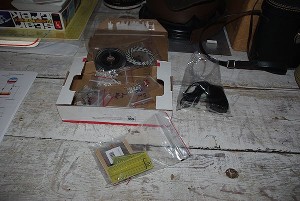
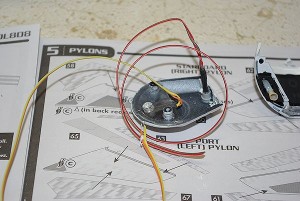
Instructions for the VooDoo FX LED system. From here on out, this book paces the construction of the model. They provides a complete system, including all parts and wiring needed.
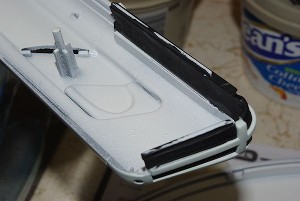
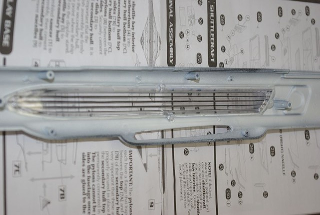
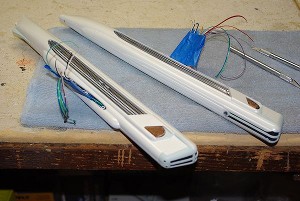
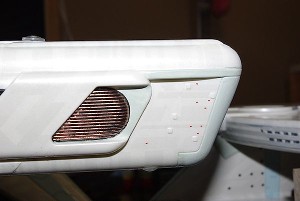
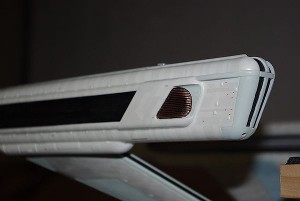
The intake grilles are fitted into the outside warp pod half. Interior light-blocking painting was added.

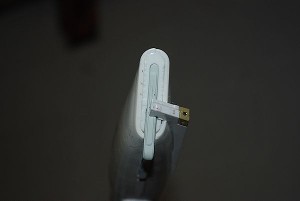
A fit-check and detail painting of the pod-tip Nav Thrusters. A piece of clear plastic goes in here direct the light from the yellow LED.
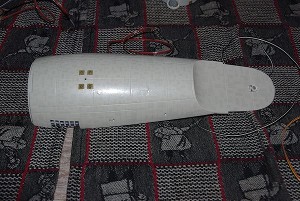
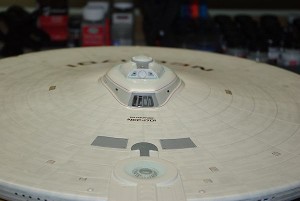
Exterior detail painting of the upper Primary Hull, including Nav Thrusters, Phaser Banks, access panels and Impulse Engine locations.
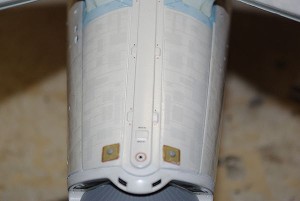
The Duck Egg Blue interface panels on the top of the Dorsal Neck were painted.

The Primary lower half got detail painting and a full set of "azteck" decals. Handling must be done carefully once the aztec panels are applied.
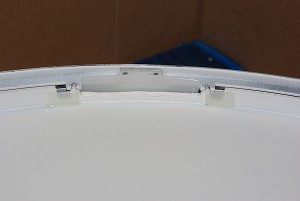
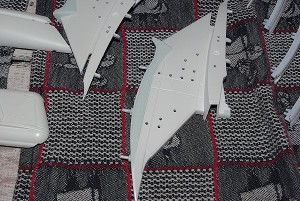
The edge sections of the upper Primary are attached to the hull. These must line up precisely.
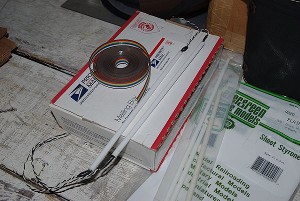
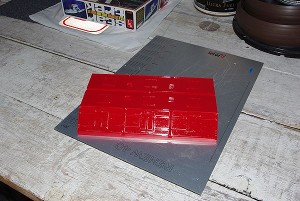
I used sheet styrene to fabricate the housings for the Impulse Reactor (blue) and the Impulse Engine (red).
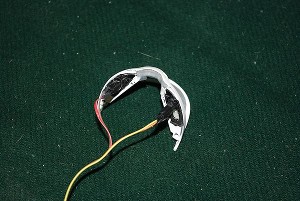
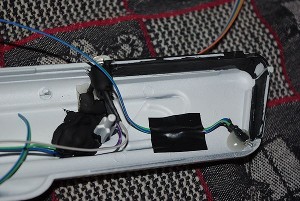
Two LEDs mounted into the Bridge Dome. One lights the three base "cells" and one is the upper Nav Strobe.
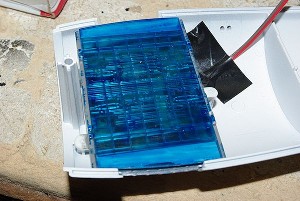
Pre-assembled blue light tubes for the Warp Pods.
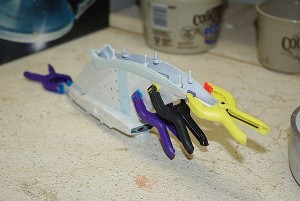
The engine supports are channeled inside to allow wiring passage and glued together.
The bottom Nav Strobe and the fantail beacon LEDs are added to the lower Secondary.
After aztecking the supports, assembly of the major section of the Secondary Hull begins.
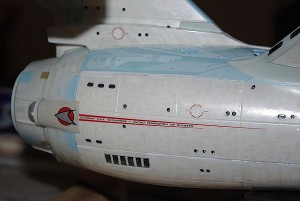
Detail painting and azteck decal panels were added to the lower half of the Secondary Hull.
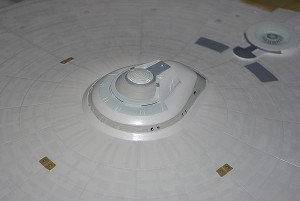
The Bridge Dome was installed and all aztec panel decals were placed onto the Primary Hull upper half.
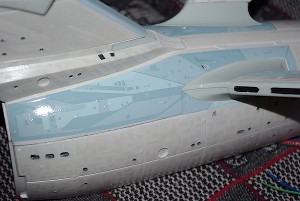
The special aztek panels for the neck/hull interface were applied.
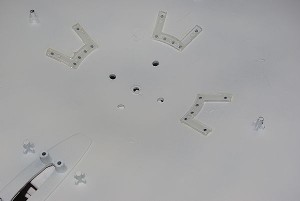
The two white support spotlight LEDs and the two yellow Dorsal spotlight LEDs were added, tested and light blocked. Hot-melt was used to lock the LEDs down.

A yellow LED is now located on the aft Pod Nav Thruster location. Light blocking is critical here, especially prior to assembly.
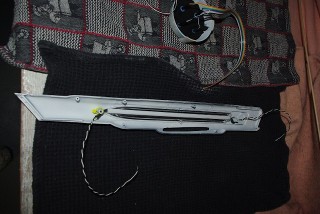
An inward facing pod half with the light tube installed. The tube has a blue LED at each end. The wires were secured to the assembly bosses to maintain alignment.
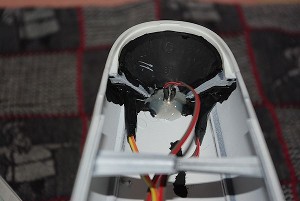
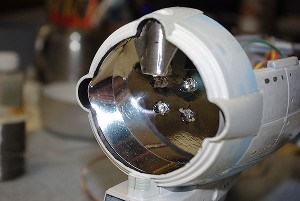
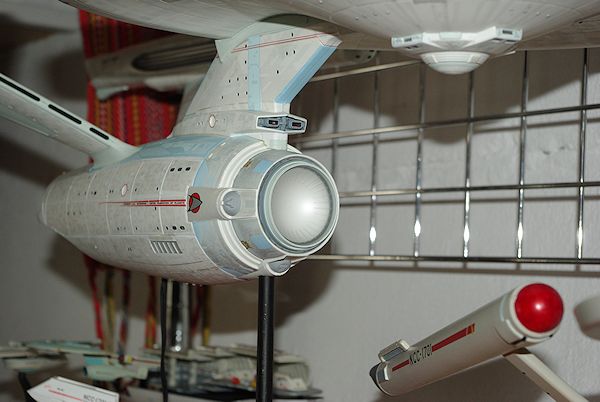
The Deflector is lit by four blue LEDs. The support is a mirror-finished paper panel cut to fit the hull front. The hull interior forward of the plate was light blocked.
The support lead-wires were pulled through the supports and wired into the circuit.

Then the lower Secondary Hull section was "wired in," attached and cemented in place.
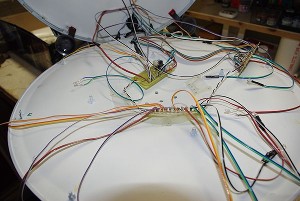
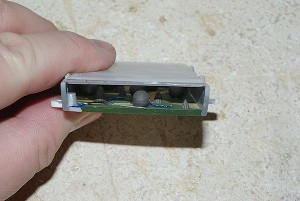
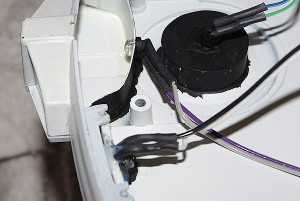
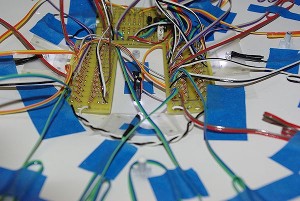
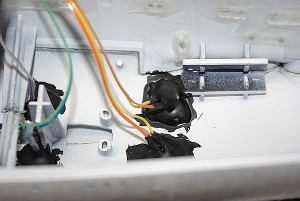
Three boards were installed here - two distribution boards ad one timer control board. The T/C board works the white strobes and NAV beacons.
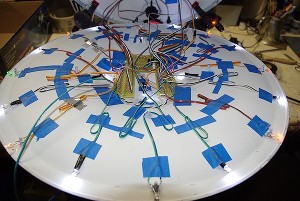
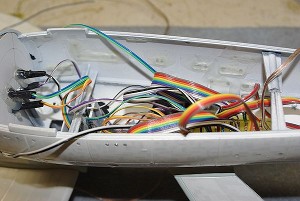
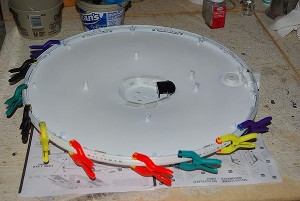
The LEDs are pre-wired with leads and placed into the hull, then wired in. Whites for the windows, yellows for the thrusters, reds and greens for the port & starboard NAV beacons.

Once all LEDs were checked, the hull was brought into place and cemented. Care was taken to assure that all seams locked together.
Primary Hull, rear view decal placement.

Secondary Hull decal placement.
Warp nacelle decal placement.
Impulse Engine area decal placement.
Warp nacelle rear decal placement and detail.
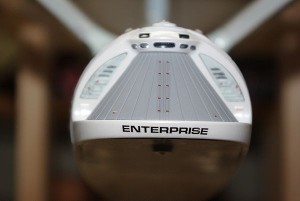
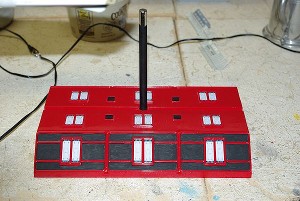
Supplied display stand, intended to represent "Space Dock."